
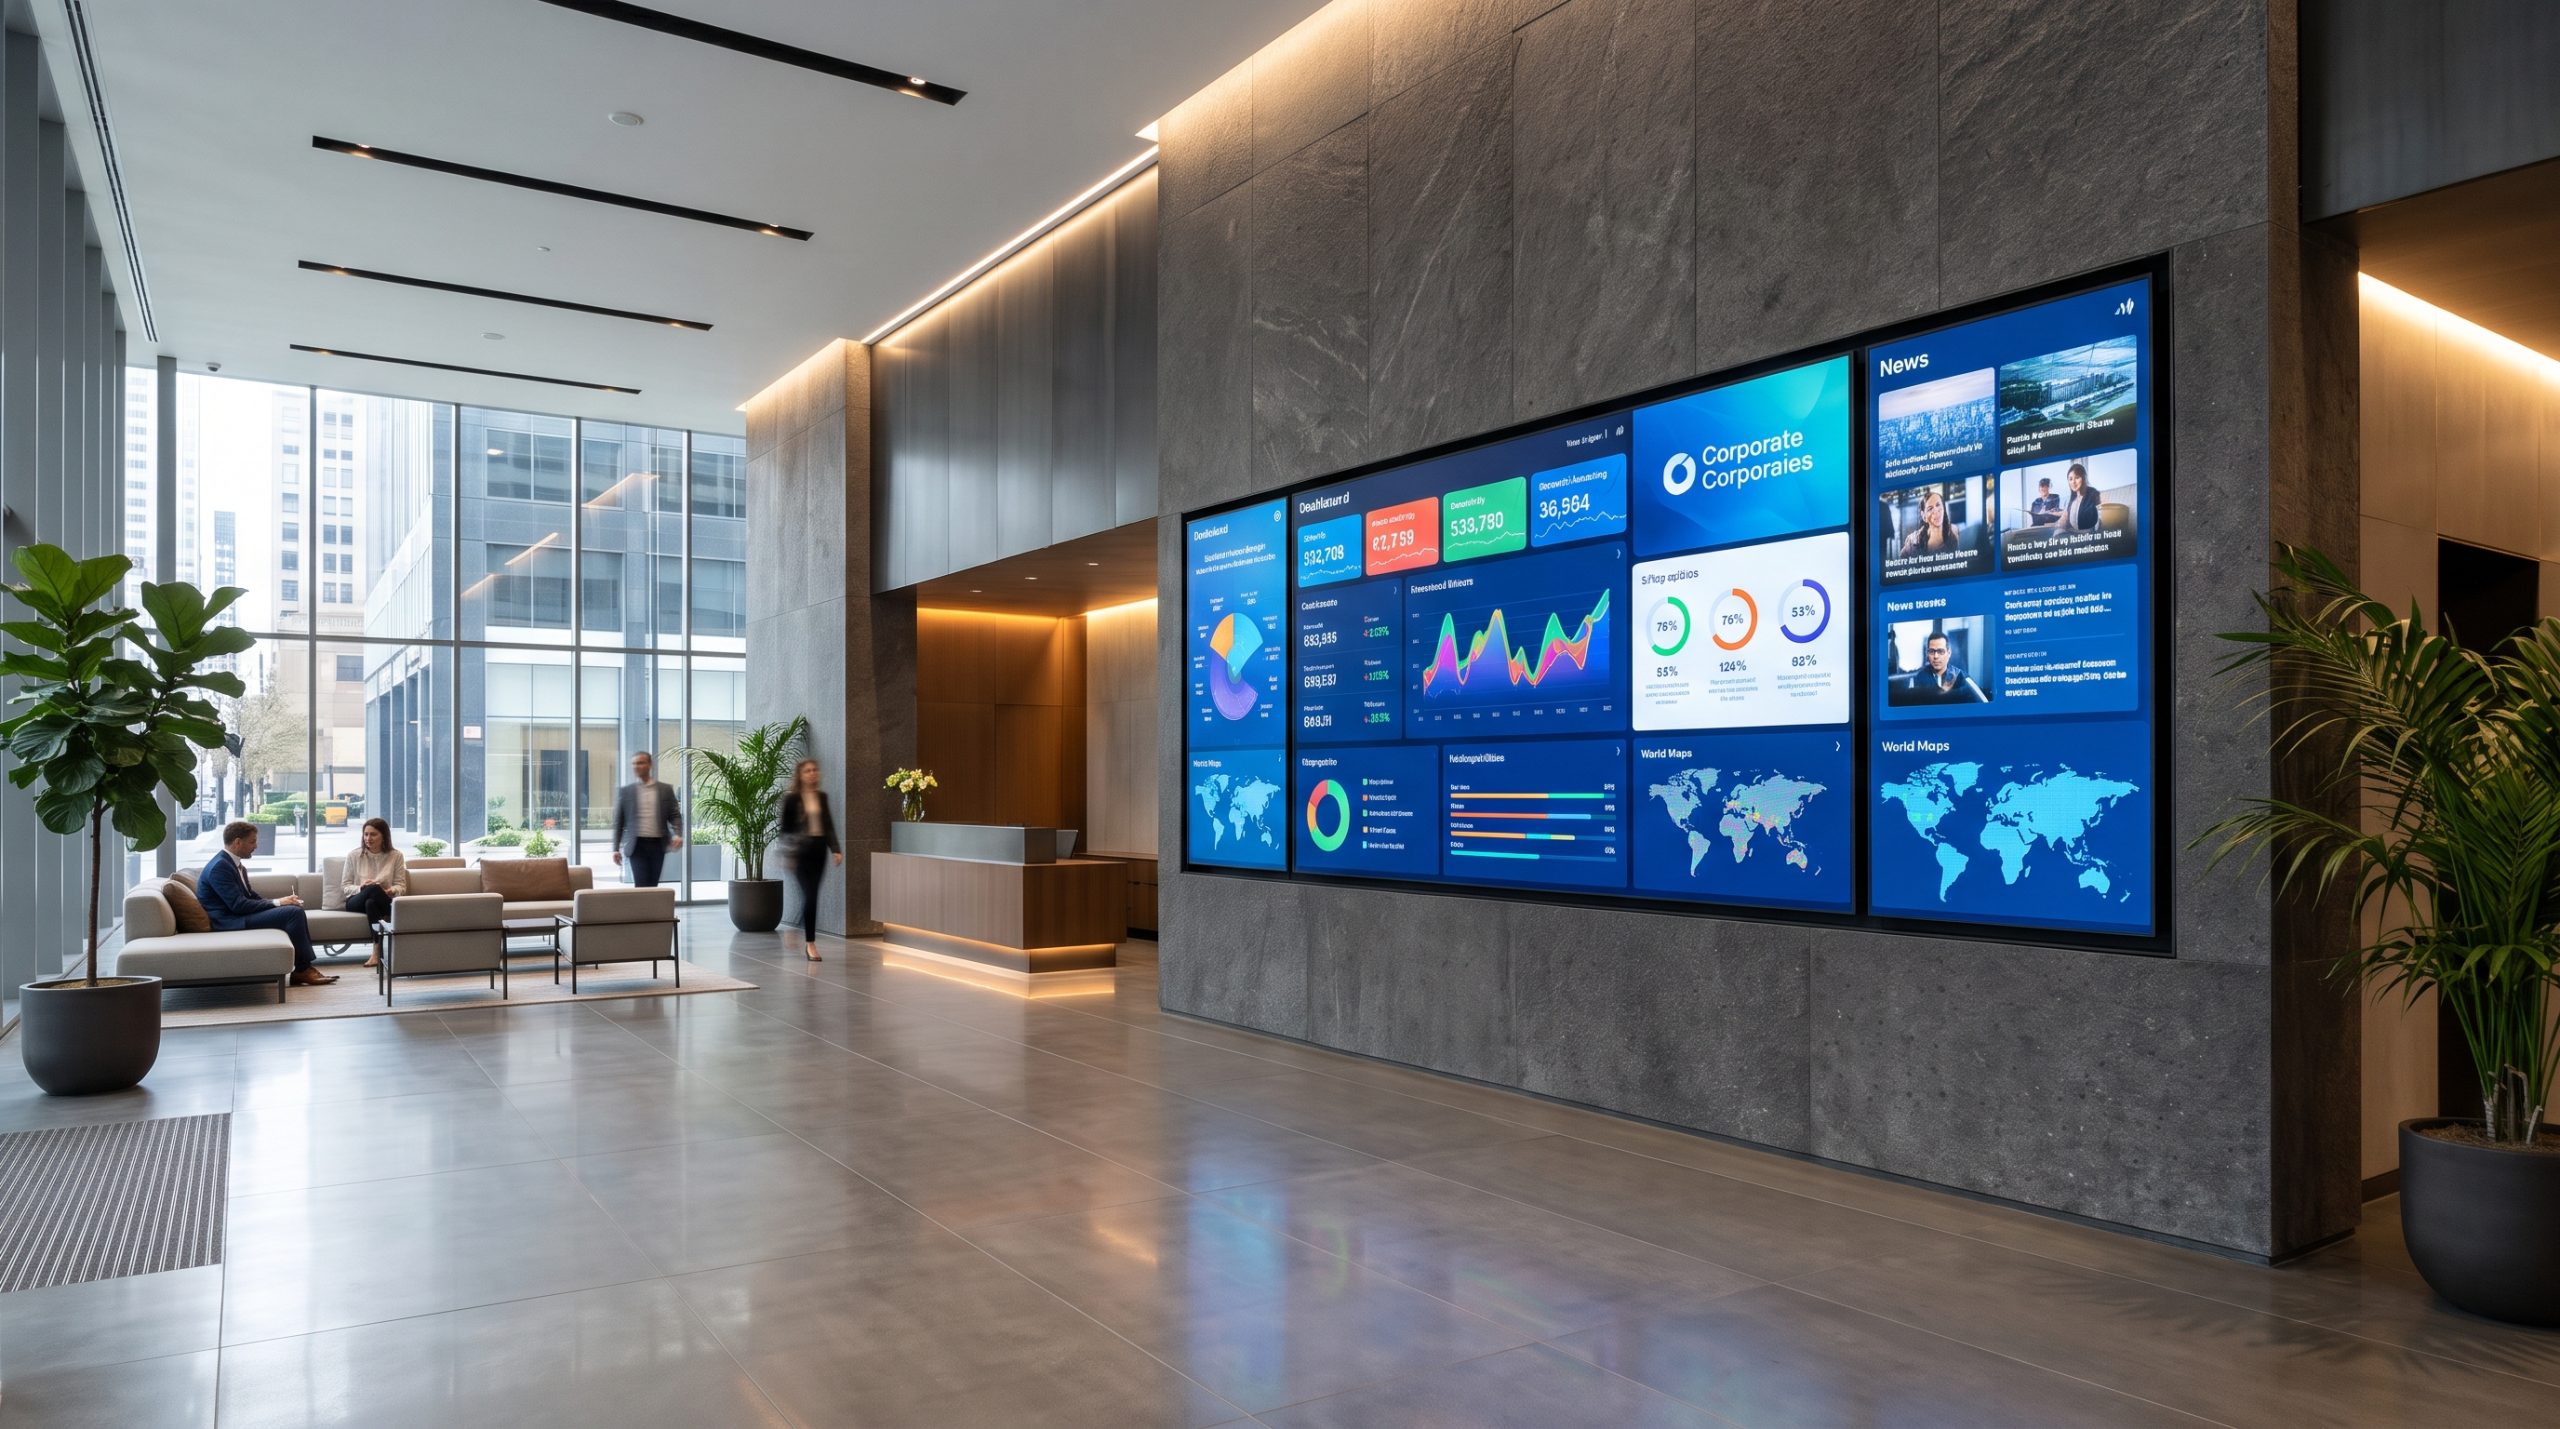

Digital signage has transformed modern visual communication across corporate headquarters, retail stores, educational campuses, healthcare networks, and hospitality spaces. While intuitive cloud Content Management Systems (CMS) handle scheduling and content distribution, the visual impact, long-term stability, and return on investment ultimately rely on the underlying hardware.
Deploying the wrong display or an underpowered playback device can cause unexpected downtime, washed-out images, overheating, and premature panel failure. This guide covers supported screens and playback devices, architectural differences, environment-specific selection criteria, step-by-step setup workflows, and hardware compatibility.
Supported Screens and Playback Devices
Modern platforms accommodate diverse deployment strategies, from turnkey all-in-one screens to modular systems driven by enterprise media engines.
                     ┌───────────────────────────────┐
                     │   Cloud Signage CMS           │
                     └──────────────┬────────────────┘
                                    │ Network (LAN / Wi-Fi)
            ┌───────────────────────┴───────────────────────┐
            ▼                                               ▼
┌───────────────────────────────┐       ┌───────────────────────────────┐
│ System-on-Chip (SoC) Screens  │       │ Dedicated External Players    │
│ • Samsung Tizen (SSSP)        │       │ • Windows / x86 Mini PCs      │
│ • LG webOS Signage            │       │ • BrightSign Solid-State      │
│ • Android SoC Commercial TVs  │       │ • Enterprise Android Boxes    │
│ (No external player needed)   │       │ (Connected via HDMI/DP)       │
└───────────────────────────────┘       └──────────────┬────────────────┘
                                                       │ Video Out (HDMI / DP)
                                                       ▼
                                        ┌───────────────────────────────┐
                                        │ High-Performance Displays    │
                                        │ • High-Bright Window Panels   │
                                        │ • Multi-Panel Video Walls     │
                                        │ • Ultra-Wide Stretch Displays │
                                        └───────────────────────────────┘
1. Smart Displays (System-on-Chip / SoC)
System-on-Chip displays integrate the processor, graphic controller, internal storage, network interface, and operating system directly into the panel chassis.
- Samsung Smart Signage Platform (SSSP / Tizen): Commercial-grade displays engineered for continuous operation. The signage client installs directly into the Tizen OS, delivering hardware watchdog reliability, scheduled auto-power states, and synchronized playback across adjacent screens.
- LG webOS Signage: Running LG’s specialized commercial Linux-based platform, webOS displays support native web technologies (HTML5, WebGL, CSS3 animations) directly on the screen without external hardware.
- Android SoC Displays: Commercial panels from manufacturers such as Philips, Sony (BRAVIA Professional), AG Neovo, and TCL come with embedded Android Open Source Project (AOSP) or Android TV platforms, simplifying fleet deployment.
2. External Media Players
For setups that demand intensive processing, multi-zone rendering, or ultra-high-definition output, external players connect directly to any display via HDMI or DisplayPort.
- Windows / x86 Architecture (Intel NUC, Minisforum, ASUS Mini PCs): The primary choice for demanding applications. Ideal for multi-head video wall controllers, 8K playback, live embedded Power BI dashboards, proprietary intranet web apps, and camera-based audience measurement.
- BrightSign Solid-State Players: Dedicated hardware known for uptime and low failure rates. Featuring a purpose-built operating system without mechanical cooling fans, BrightSign devices run 24/7 in harsh, dusty, or vibration-prone environments.
- Commercial Android Boxes & Sticks: Budget-friendly, high-performance hardware (e.g., Ugoos, MINIX, Giada) suited for multi-site rollouts showing 4K video, social feeds, and motion graphics.
- Enterprise ChromeOS Devices (Chromeboxes): Highly secure, centrally manageable through Google Workspace Admin console, and suitable for education and government deployments.
3. Specialized Form Factors
- Direct-View Fine-Pitch LED: Modular seamless video walls that overcome the physical bezels of standard LCD panels.
- Ultra-Wide Stretched Displays (Bar-Type): 16:3 or 32:9 aspect ratio panels designed for shelf-edge retail, transit wayfinding, and low-profile overhead architectural bulkheads.
- Interactive Touch Panels: Projected Capacitive (PCAP) or Infrared (IR) touchscreens engineered for digital kiosks, corporate meeting room schedulers, and indoor wayfinding directories.
How to Choose a Digital Signage Display
Selecting the right screen involves balancing operational duty cycles, optical conditions, viewing ergonomics, and environmental exposures.
Commercial vs. Consumer Displays
The common mistake in signage deployments is mounting standard consumer home televisions into commercial facilities. Consumer TVs are engineered for casual home viewing (typically 4–6 hours daily), have narrow thermal tolerances, feature glossy glass panels prone to glare, and lack remote network control.
| Evaluation Factor | Consumer Television | Commercial Signage Display |
|---|---|---|
| Operating Duty Rating | 4 to 8 hours/day (overheats if run continuously) | 16/7 to 24/7 continuous operation |
| Luminance / Brightness | 200 – 350 nits (washes out in bright rooms) | 400 – 4,000+ nits (matched to ambient lighting) |
| Panel Finish | Glossy (strong reflections from room lighting) | Matte anti-glare coating (1% to 28% haze) |
| Screen Orientation | Landscape only (portrait use damages backlights) | Native Landscape and Portrait modes |
| Cooling & Thermal | Passive, plastic enclosure; vulnerable to dust | Heavy-duty heat sinks, fans, metal chassis |
| Control Interfaces | IR Remote only; limited HDMI-CEC | RS-232C, RJ45 LAN, IP control, input locking |
| Warranty Terms | Voided if used in a commercial establishment | 3-Year on-site commercial advance replacement |
Environmental Brightness (Nits)
Ambient light dictates the minimum required screen luminance, measured in candelas per square meter ($\text{cd/m}^2$), commonly termed nits:
- Standard Indoor Spaces (250 – 500 nits): Break rooms, back offices, quiet boardrooms, and hospital corridors with controlled lighting.
- High-Ambient Indoor Spaces (700 – 1,000 nits): Retail shopping malls, sunlit corporate lobbies, transit hubs, and airports with abundant glass and high fluorescent or LED ceiling illumination.
- Semi-Outdoor / Window-Facing (1,500 – 2,500 nits): Displays installed behind storefront glass pointing outward toward street traffic. High brightness and polarized panel filters prevent thermal blackout from direct solar heat load.
- Fully Exposed Outdoor (2,500 – 4,500+ nits): Drive-thrus, building exteriors, and open-air public plazas. Requires IP56 or IP65 weather-sealed enclosures, IK10 vandal-resistant tempered glass, and internal climate controls.
Viewing Distance, Sizing, and Resolution
Screen dimensions and resolution must balance visibility and human scale:
$$\text{Minimum Display Diagonal} \approx \frac{\text{Furthest Viewing Distance}}{4}$$
- Close-Range (< 2 meters / 6 feet): Touch kiosks, point-of-sale displays, and elevator screens. Use 10-inch to 32-inch displays. At this range, Full HD (1080p) or 4K resolution is essential to keep typography legible.
- Mid-Range (2 – 6 meters / 6 – 20 feet): Retail department signage, restaurant digital menu boards, and office hallways. Standardize on 43-inch to 65-inch 4K panels.
- Long-Range (> 6 meters / 20+ feet): Manufacturing plant floors, building atriums, and auditorium spaces. Deploy 75-inch to 98-inch commercial panels or modular direct-view LED walls.
Step-by-Step Setup and Deployment Workflow
Follow this deployment sequence to build a reliable signage installation.
Step 1: Physical Mounting and Thermal Verification
- Inspect the structural wall studs, ceiling brackets, or floor-mount pedestals. Ensure load capacities exceed the display and bracket weight by at least 1.5×.
- Match the display’s rear mounting pattern to the bracket’s standard VESA spacing (e.g., $400\times400\text{ mm}$, $600\times400\text{ mm}$).
- If installing in portrait orientation, verify the manufacturer’s manual allows vertical rotation. Look for directional arrows showing which edge faces up to ensure proper thermal convection.
- Leave at least 50 mm (2 inches) of clearance behind and around the chassis for heat exhaust. Do not mount displays directly above baseboard heaters or under uninsulated roofs.
Step 2: Power and Network Configuration
- Power Provisioning: Install recessed commercial electrical outlets directly behind the display to conceal power bricks and cabling. Add surge suppression to guard against voltage spikes.
- Hardwired Ethernet (Recommended): For stable video playback, live data streams, and remote firmware maintenance, wire displays with Cat6 Ethernet lines.
- Wi-Fi Best Practices: When hardwiring is impractical, configure Wi-Fi on a dedicated 5 GHz enterprise SSID. Avoid congested 2.4 GHz guest networks, captive portals, and dynamic landing page logins. Ensure local IT adds DHCP reservations for the display MAC addresses.
Step 3: Hardware Provisioning and Client Installation
- For SoC Displays (Samsung / LG / Android TV):
- Boot the display, complete initial locale and time-zone configuration, and set panel orientation.
- Switch the display application launch mode to “URL Launcher,” “Custom App,” or open the onboard app marketplace.
- Enter the signage engine application package URL or install the dedicated APK / package directly.
- Grant necessary Android/webOS permissions (Storage, Network, Auto-start on Boot).
- For External Players (Windows / Linux / Android):
- Connect the media player to the display using certified high-speed HDMI 2.1 or DisplayPort cables.
- Set the operating system video output to the panel’s native resolution and 60 Hz refresh rate.
- Disable sleep timers, system screensavers, OS update pop-up prompts, and notification banners.
- Install the native signage player application and configure it to launch automatically upon system startup.
Step 4: CMS Pairing and Display Provisioning
- Launch the signage client on the display or media engine.
- The screen will generate an alphanumeric pairing PIN code on its initial run.
- Log into the web-based cloud signage management portal from a browser.
- Navigate to Screens > Add New Device, input the on-screen PIN code, and assign the screen a descriptive name (e.g.,
NYC-HQ-Lobby-East-01). - Group the screen into its targeted geographic, department, or content channel tags for streamlined playlist updates.
Step 5: Content Scheduling and Offline Verification
- Assign an active playlist, canvas template, or media loop containing your organization’s graphics, video, and ticker streams.
- Confirm playback runs smoothly without dropped frames or unexpected layout clipping.
- Offline Resiliency Test: Disconnect the Ethernet cable or switch off the Wi-Fi access point for 10 minutes. Verify that the player continues running its cached media assets locally without showing an error dialog, black screen, or broken connection icon. Reconnect the network and confirm telemetry syncs back to the cloud dashboard.
Technical Compatibility and Requirements Matrix
Ensure your site meets these core requirements before deploying your displays.
┌────────────────────────────────────────────────────────────────────────┐
│                        INFRASTRUCTURE CHECKLIST                        │
├───────────────────┬────────────────────────────────────────────────────┤
│ Network Bandwidth │ • 10–25 Mbps down per 4K screen (initial sync)     │
│                   │ • Caches locally; runs seamlessly during drops     │
├───────────────────┼────────────────────────────────────────────────────┤
│ Network Security  │ • Outbound HTTPS (Port 443) & WSS (Port 8443) open │
│                   │ • No incoming firewall holes or static IPs needed  │
├───────────────────┼────────────────────────────────────────────────────┤
│ Media Formats     │ • Video: MP4, WebM (H.264 / H.265 / HEVC)          │
│                   │ • Graphics: PNG, JPG, SVG, WebP                    │
│                   │ • Web Assets: HTML5, CSS3, JavaScript, WebGL       │
└───────────────────┴────────────────────────────────────────────────────┘
1. Network and Bandwidth
- Bandwidth Sizing: A single high-definition screen requires only modest continuous bandwidth because assets are downloaded to local storage and played locally, rather than streamed in real time. Plan for 10 to 25 Mbps downstream bandwidth per screen during initial content sync windows to prevent network congestion.
- Port Availability: Signage platforms typically initiate outbound connections over standard secure protocols. Firewalls should allow outbound traffic over:
- TCP Port 443 (HTTPS): Content asset downloading, REST API calls, and telemetry reporting.
- TCP Port 80 (HTTP): NTP time synchronization and initial redirects.
- TCP Port 8443 / 443 (WSS): Persistent secure WebSocket connections for instant screen commanding (instant screen refresh, emergency alerts, push notifications).
- Inbound ports are not required, protecting internal networks from external intrusion.
2. Supported Formats and Codecs
- Video Files: MP4, WebM, and MOV containers encoded using H.264 (AVC) or H.265 (HEVC) profiles up to 4K @ 60 fps.
- Still Images: PNG (with alpha transparency support), JPEG, SVG vector graphics, and lightweight WebP formats.
- Live Dynamic Feeds: Responsive HTML5 web apps, CSS3 keyframe animations, JavaScript data visualizations, WebSockets, RSS/Atom XML tickers, and live dashboard embeds.
- Audio Channels: Stereo AAC and MP3 codecs (can be muted or targeted per screen zone).
3. Peripheral and Accessory Compatibility
- Touch Interfaces: Plug-and-play HID-compliant touchscreen overlays working over USB without external driver installations (Windows, Linux, Android).
- Sensors and Microcontrollers: USB/serial integrations with motion sensors, proximity detectors, RFID/barcode scanners, and lift-and-learn retail triggers.
- Automated Device Control: Screen control protocols (HDMI-CEC, RS-232, and IP commands) to schedule panel power toggles, switch input sources, adjust brightness dynamically, and log hardware telemetry.
Hardware Maintenance and Longevity Checklist
Keep displays running reliably with regular maintenance:
- Dust and Ventilation: Clean screen bezels, vents, and media player fan ports every 90 days to prevent thermal throttling.
- Firmware and Security Updates: Schedule automated OS and player engine updates to run outside operating hours.
- Burn-in and Pixel Shift: On OLED or continuous static-content displays, turn on panel pixel-shifting and schedule off-hours screen resting periods to prevent image retention.
- Cable Management: Secure all HDMI and power cables with zip ties and strain-relief clips to avoid loose connections during building vibrations.
- Ambient Light Sensor Check: Verify ambient light sensors adjust screen brightness smoothly as exterior lighting shifts from bright sun to evening conditions.